
Ремонт энергосберегающей лампы своими руками
Ремонт энергосберегающей лампы своими руками не только возможен, а и активно продвигается пользователями в социальных сетях и СМИ. Причина проста – изготовители, допустили оплошность, выпустив долговечный продукт, способный проработать 4-5 лет. Чтобы остаться в тренде – не потерять ежегодных доходов, производитель преднамеренно портит собственную продукцию.

Как так? Давайте, по полочкам разложим:
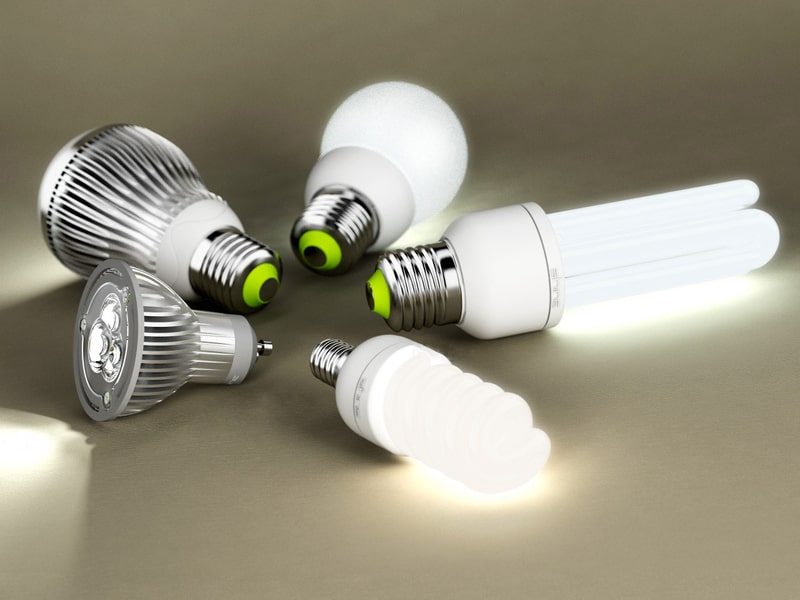
- Энергосберегающая лампа – это электронный прибор, состоящий из лампы со спиралью, цоколя и, управляющей подачей питания, микросхемы.
- Перечисленные компоненты изготавливаются на разных заводах и поставляются на линии сборки десяткам компаний. Конечные предприятия собирают конструкцию, ставят собственный логотип и запускают товар в продажу.
- Да. С вероятностью 99% между брендами Light Offer, Philips или no Name, нет разницы. Только цена.
- Дорогие энергосберегающие лампы работают 5 и более лет, а дешевые экономки сгорают на первом году службы. Как раз на 10-30 день после окончания гарантии.

Ремонт энергосберегающей лампы своими руками
Хитрость в управляющей микросхеме. А точнее в одном резисторе, который по характеристикам не соответствует заявленным требованиям. Компонент схемы просто перегревается и сгорает. Резистор 1R0 на 1 Ом, с копеечной стоимостью, заставляет пользователя выбрасывать сгоревшую лампу и покупать новую.

Процедура лечения энергосберегающих ламп проста:

Между цоколем и колбой просматривается шов, в который вставляется плоская отвертка. Без резких движений, слегка покачивая отвертку, конструкция, как матрешка, открывается. Микросхема окажется на стороне цоколя. Резисторы на плате подписаны. Взяв мультиметр, легко убедиться в правоте автора. Эксперты рекомендуют впаять резистор 1R2 с сопротивлением 1,2 Ом. Не собирая конструкцию воедино, лампу легко проверить, подав напряжение.