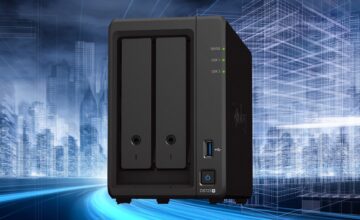
In a recent review, we already discussed the advantages and disadvantages of home NAS devices. Considering products from WD, Qnap, and Synology, the choice fell on NAS Synology DS218. The product attracted attention with its attractive price and functionality:
- Support for two hard drives;
- SATA III interface;
- Gigabit Ethernet port;
- USB 3.0 version available;
- Autonomous boot;
- 10-bit video encoding in 4K H.265 format.
NAS Synology DS218: Second Series Line
Apparently, the manufacturer decided to occupy all price niches by offering different modifications of the same hardware. As a result, there are 4 NAS devices in the range of 200-400 US dollars.
Synology DS218j – budget option for home use. Good functionality but low performance. Weak Marvell Armada processor and 512 MB DDR3 RAM make it purely a file storage. Sufficient for one user, but no point in expecting more.
Synology DS218play – slightly more memory (1GB), and a more powerful Realtek processor. But the device still cannot handle 10-bit 4K H.265 encoding. Compared to the budget model, DS218play hardware supports server functions. There are many interesting “features” for developers. Plus, free licenses for surveillance systems are included.
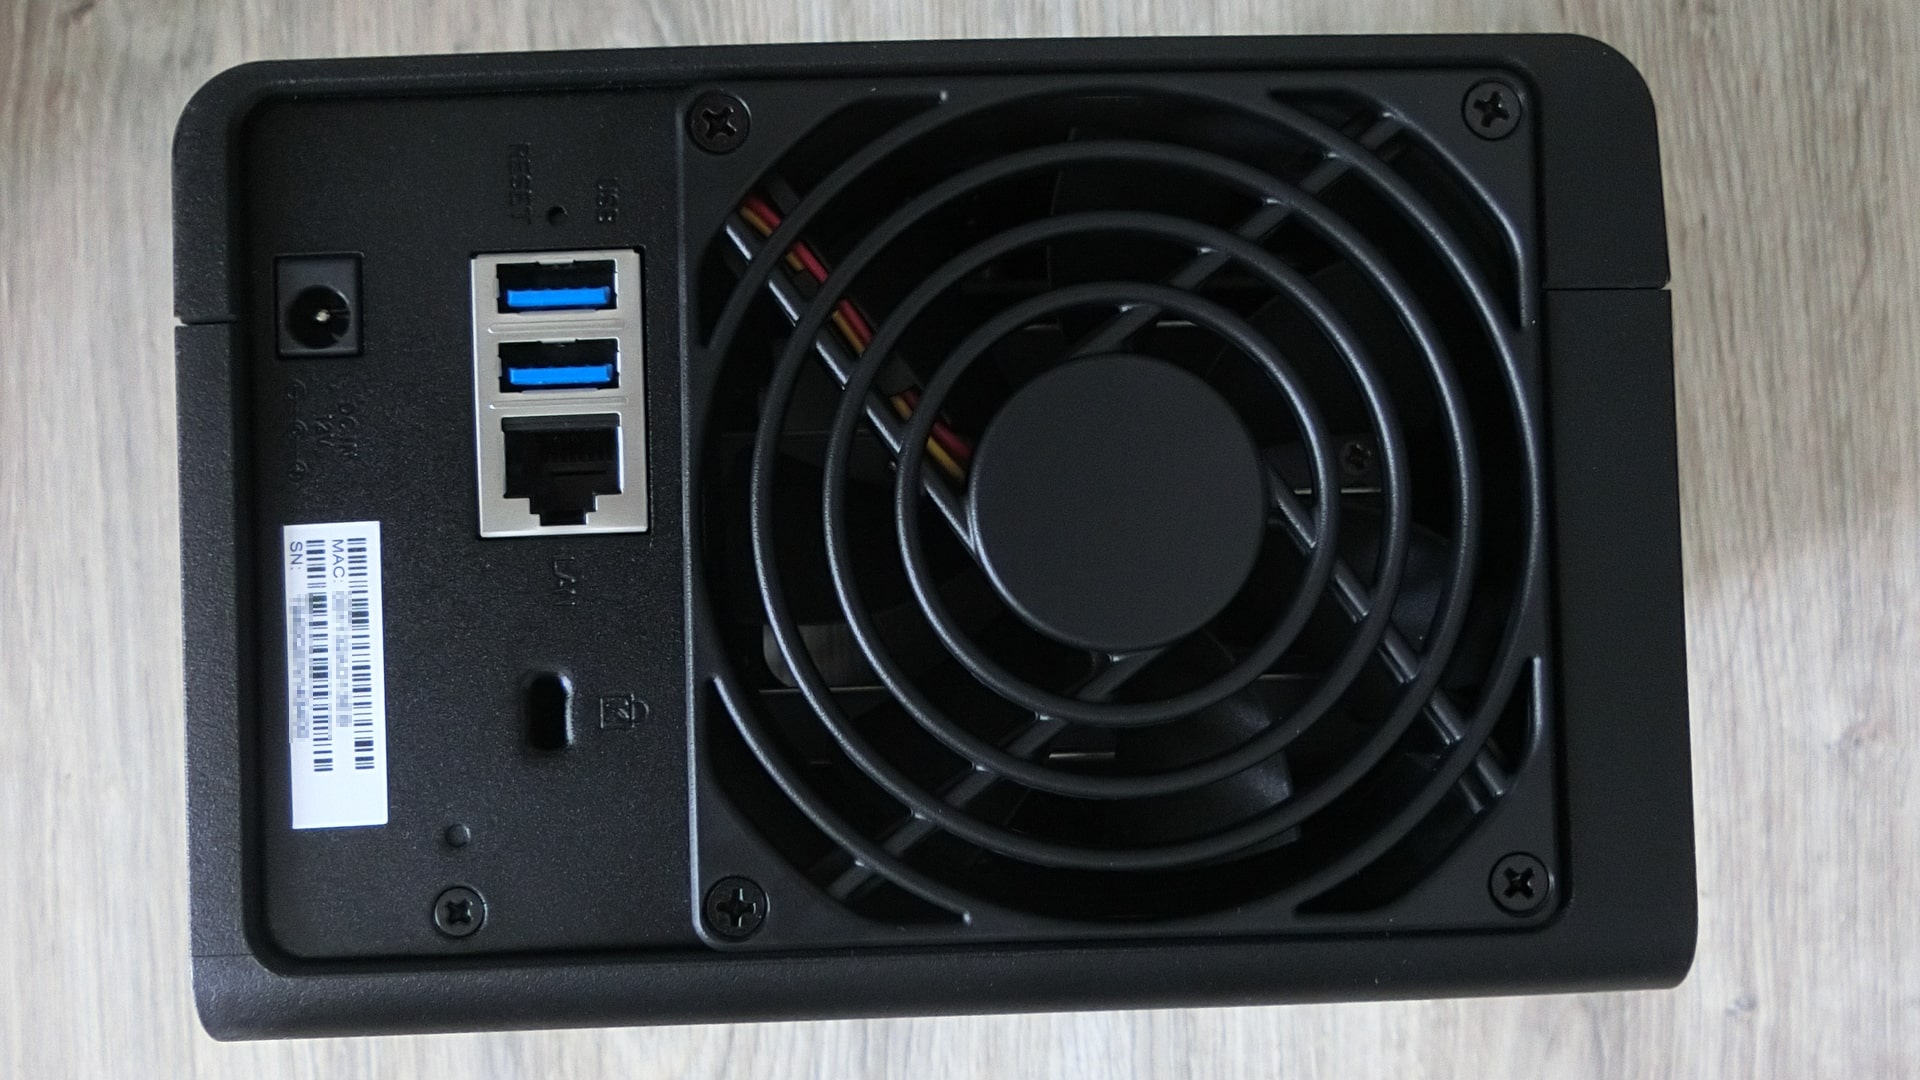
Synology DS218 – a full-fledged multimedia center. It is the only NAS in the series designed to work with 4K video. Moreover, 10-bit H.265 encoding occurs in real-time. In simple terms – an external media player is not needed. The NAS streams high-definition video to the TV, and the built-in TV player simply displays the picture without lag. A powerful 4-core Realtek processor and 2GB DDR4 RAM enable multitasking and support multiple users simultaneously. All the “features” for server setup are available.
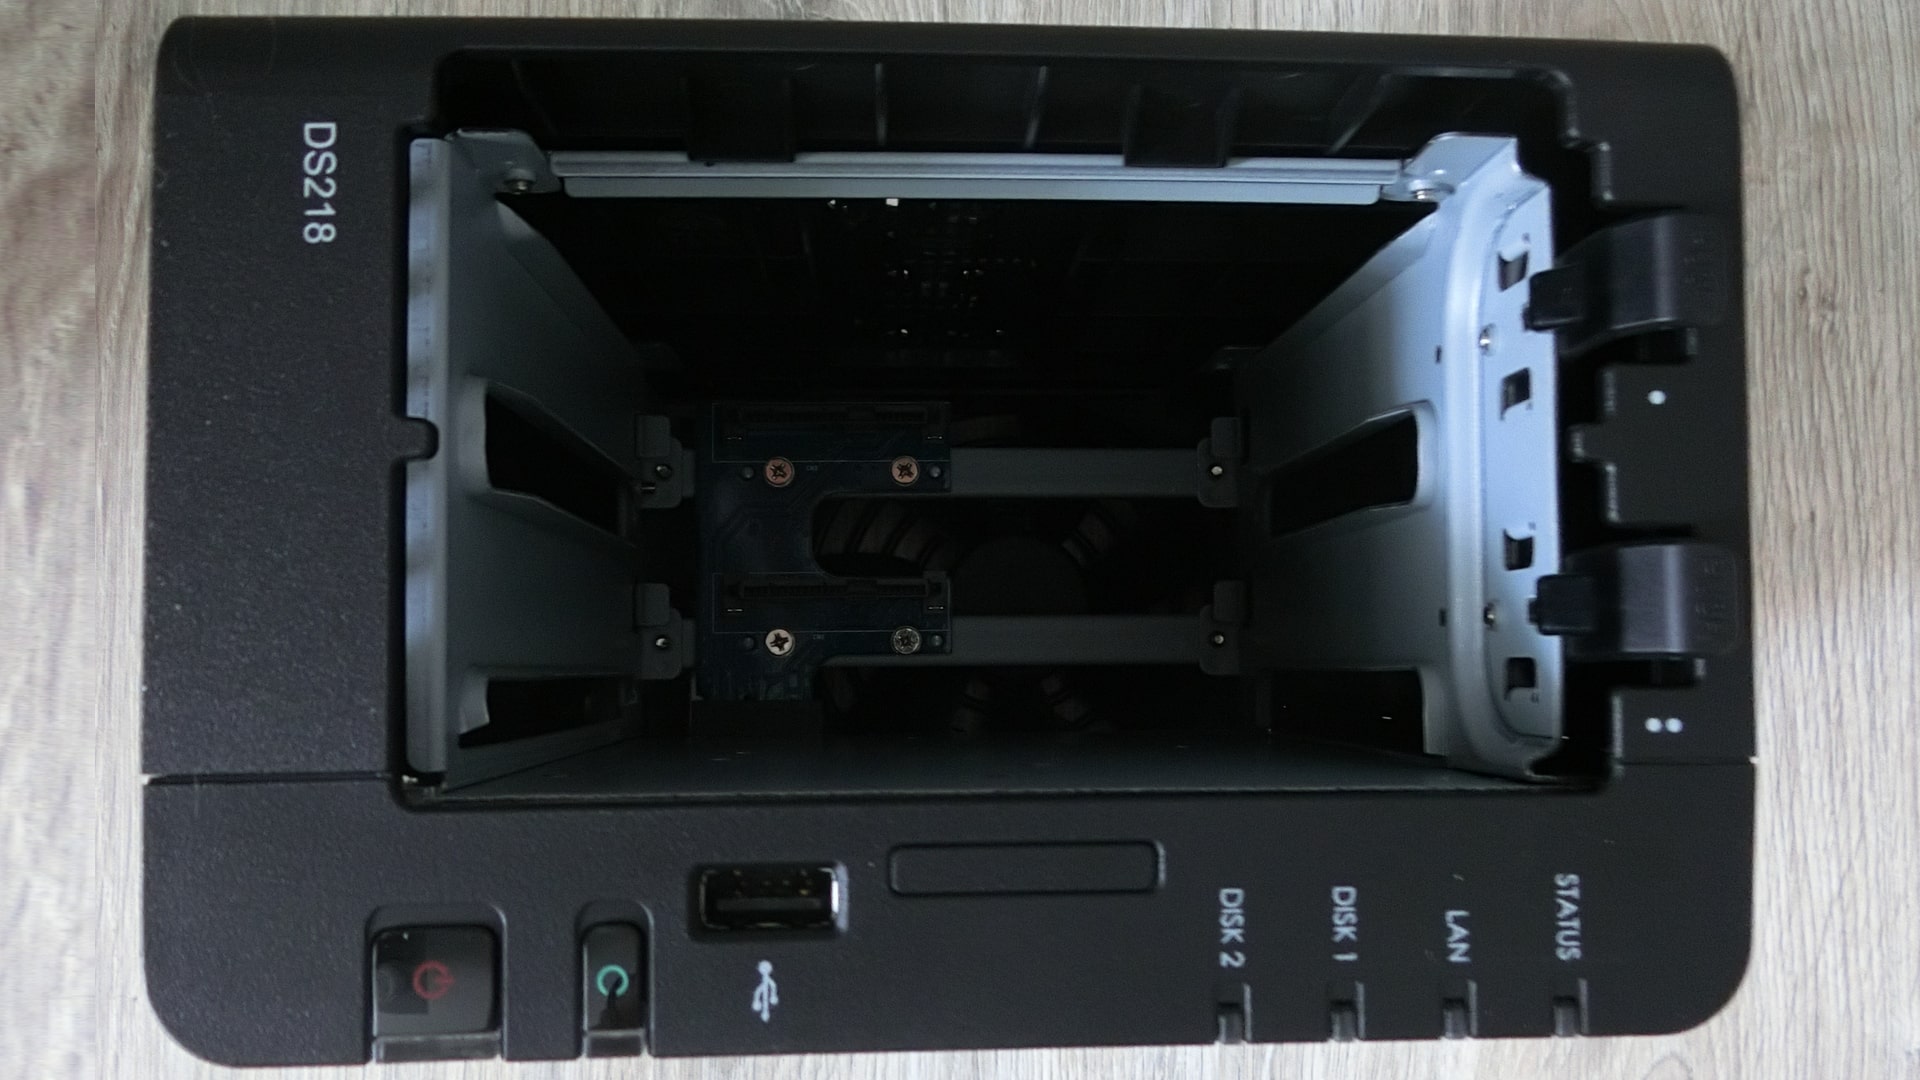
Synology DS218+ – a business-class network storage device. Supporting all the features of the DS218 model, this NAS can deploy virtual environments hardware-wise. The high performance of the virtual machine is guaranteed by the Intel Celeron processor. This model is powerful and handles any complex tasks. The only drawback is that the “Celeron” processor does not support 4K video encoding at the hardware level. That is, real-time video streaming is impossible.
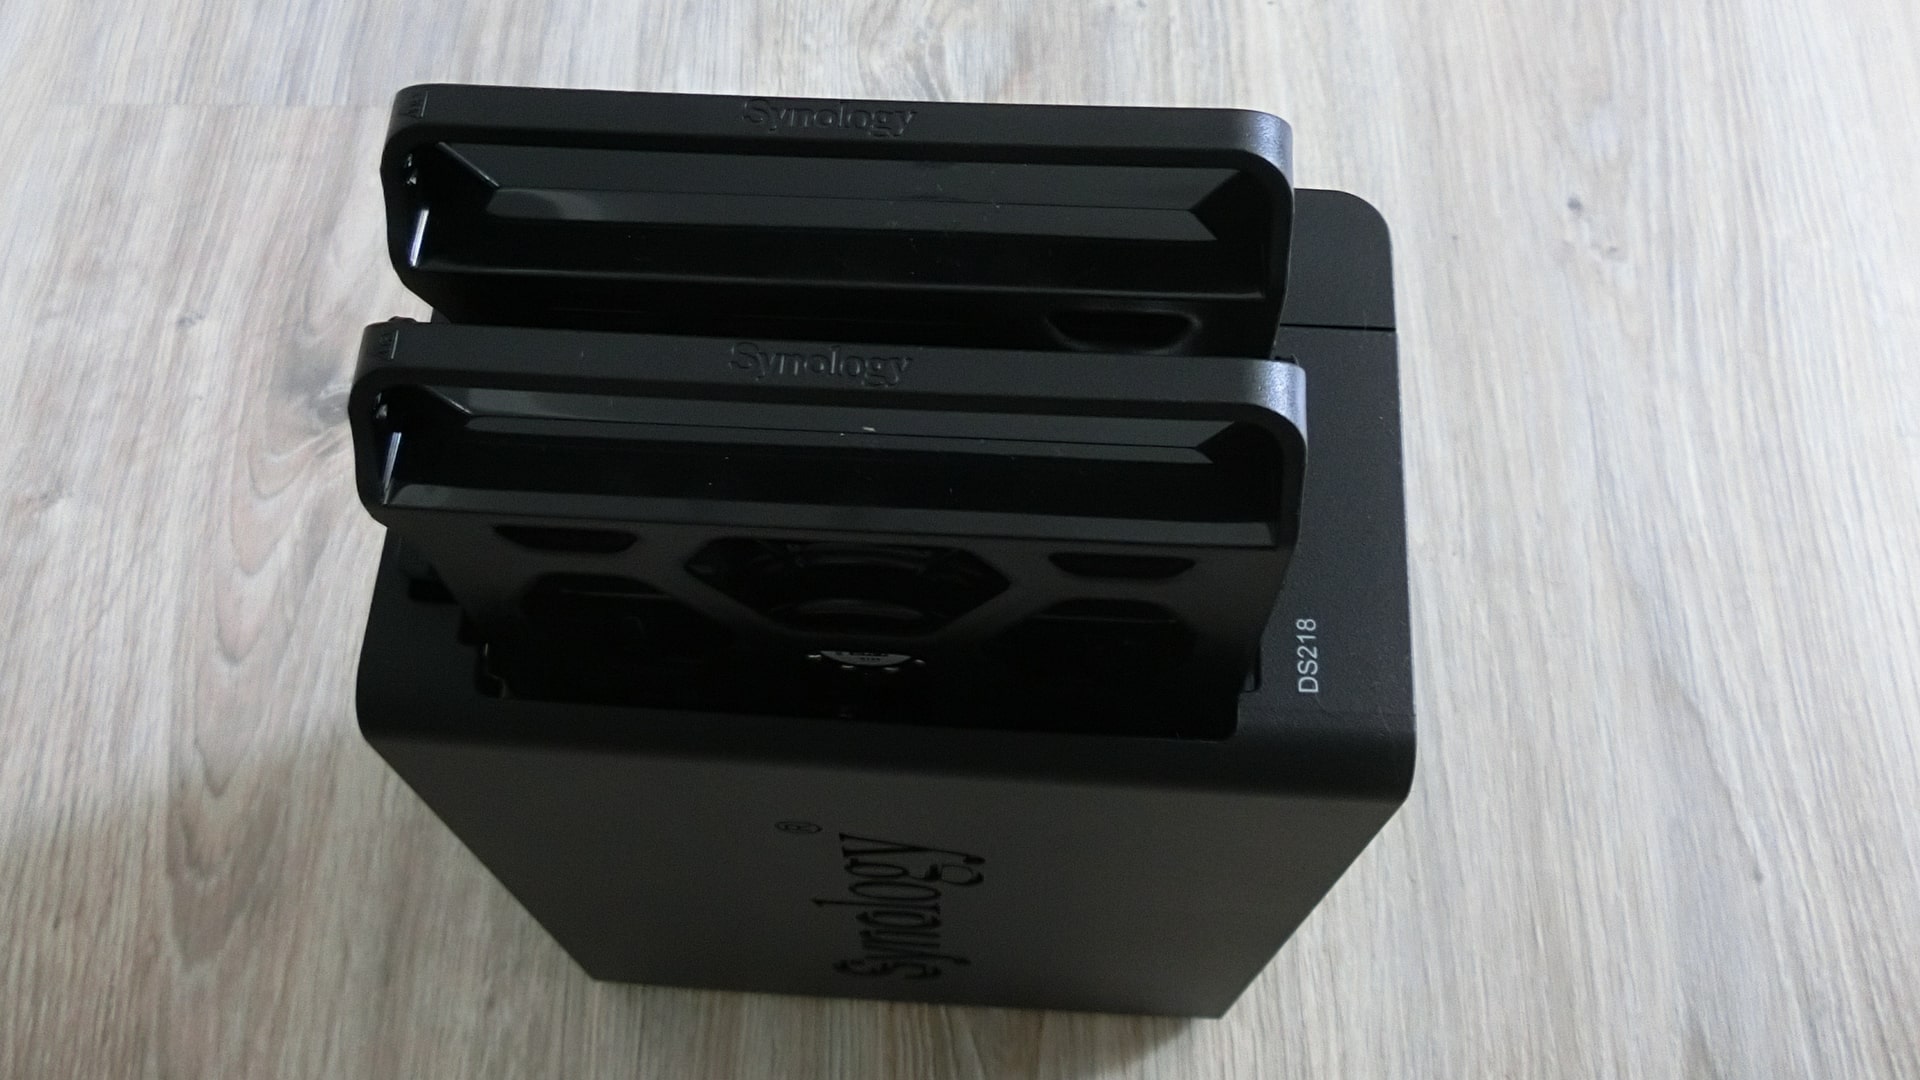
In conclusion, only the NAS Synology DS218 model is suitable for the tasks described above. If video is not a concern, the best performance choice is the Synology DS218+. When considering price, the budget-friendly Synology DS218j is an excellent solution for home tasks.

NAS Synology DS218: Overview
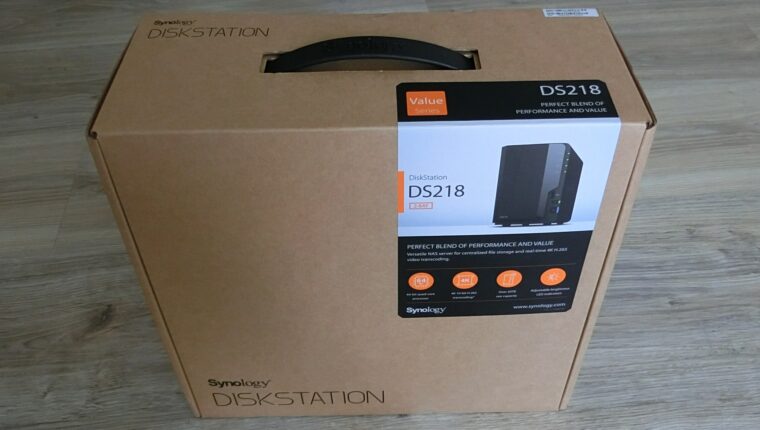
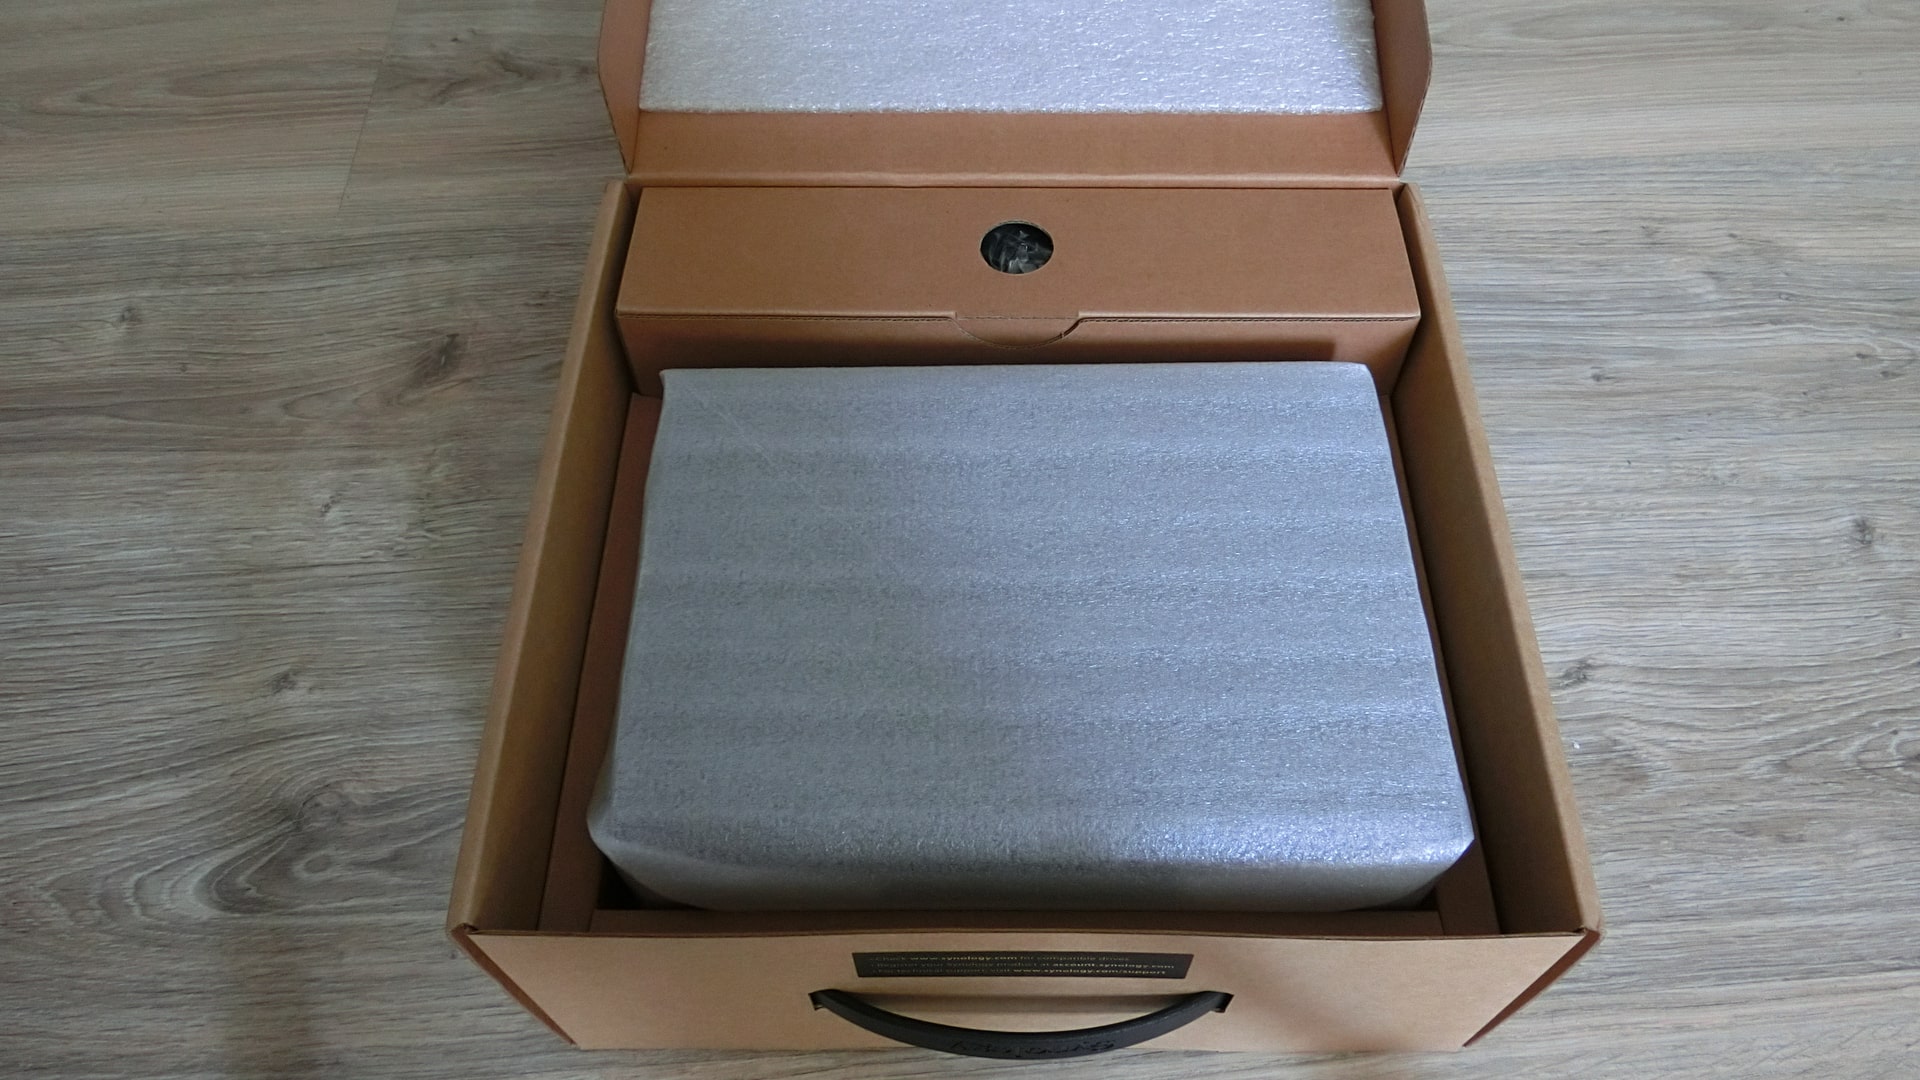
The compact, lightweight box received at the post office after purchasing from an online store initially caused some confusion. Consumers often imagine a server as a heavy and bulky device. But after unboxing and first acquaintance, everything fell into place. The compact NAS does not require much space in the network equipment niche. The design is simple and convenient.

The kit includes a cable with a power supply unit. The power supply can be directly connected to an uninterruptible power supply (UPS) via the appropriate interface cable. Inside the box, there is a patch cord and a set of small screws. Installing the hard drives took a couple of minutes. The front cover of the NAS is fixed on rubber stops. Under the cover, there is a bay for mounting disks.
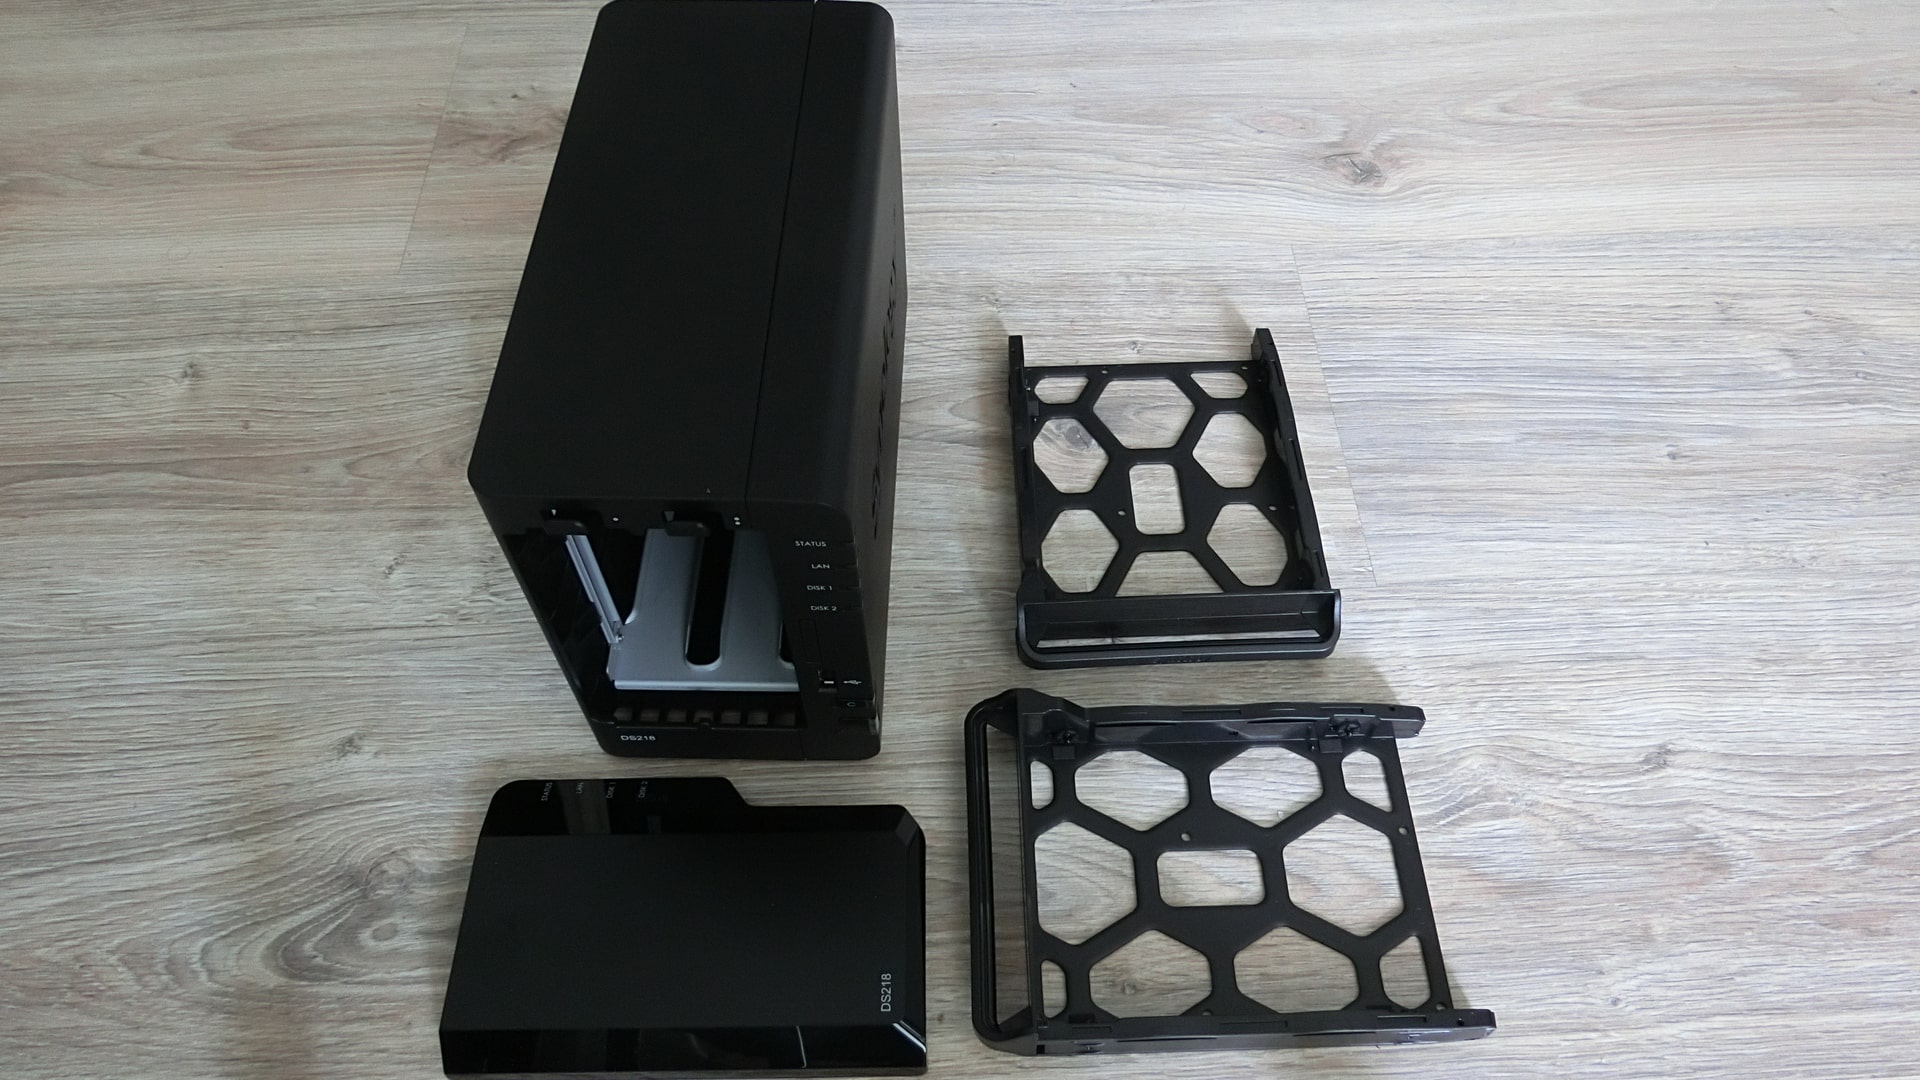
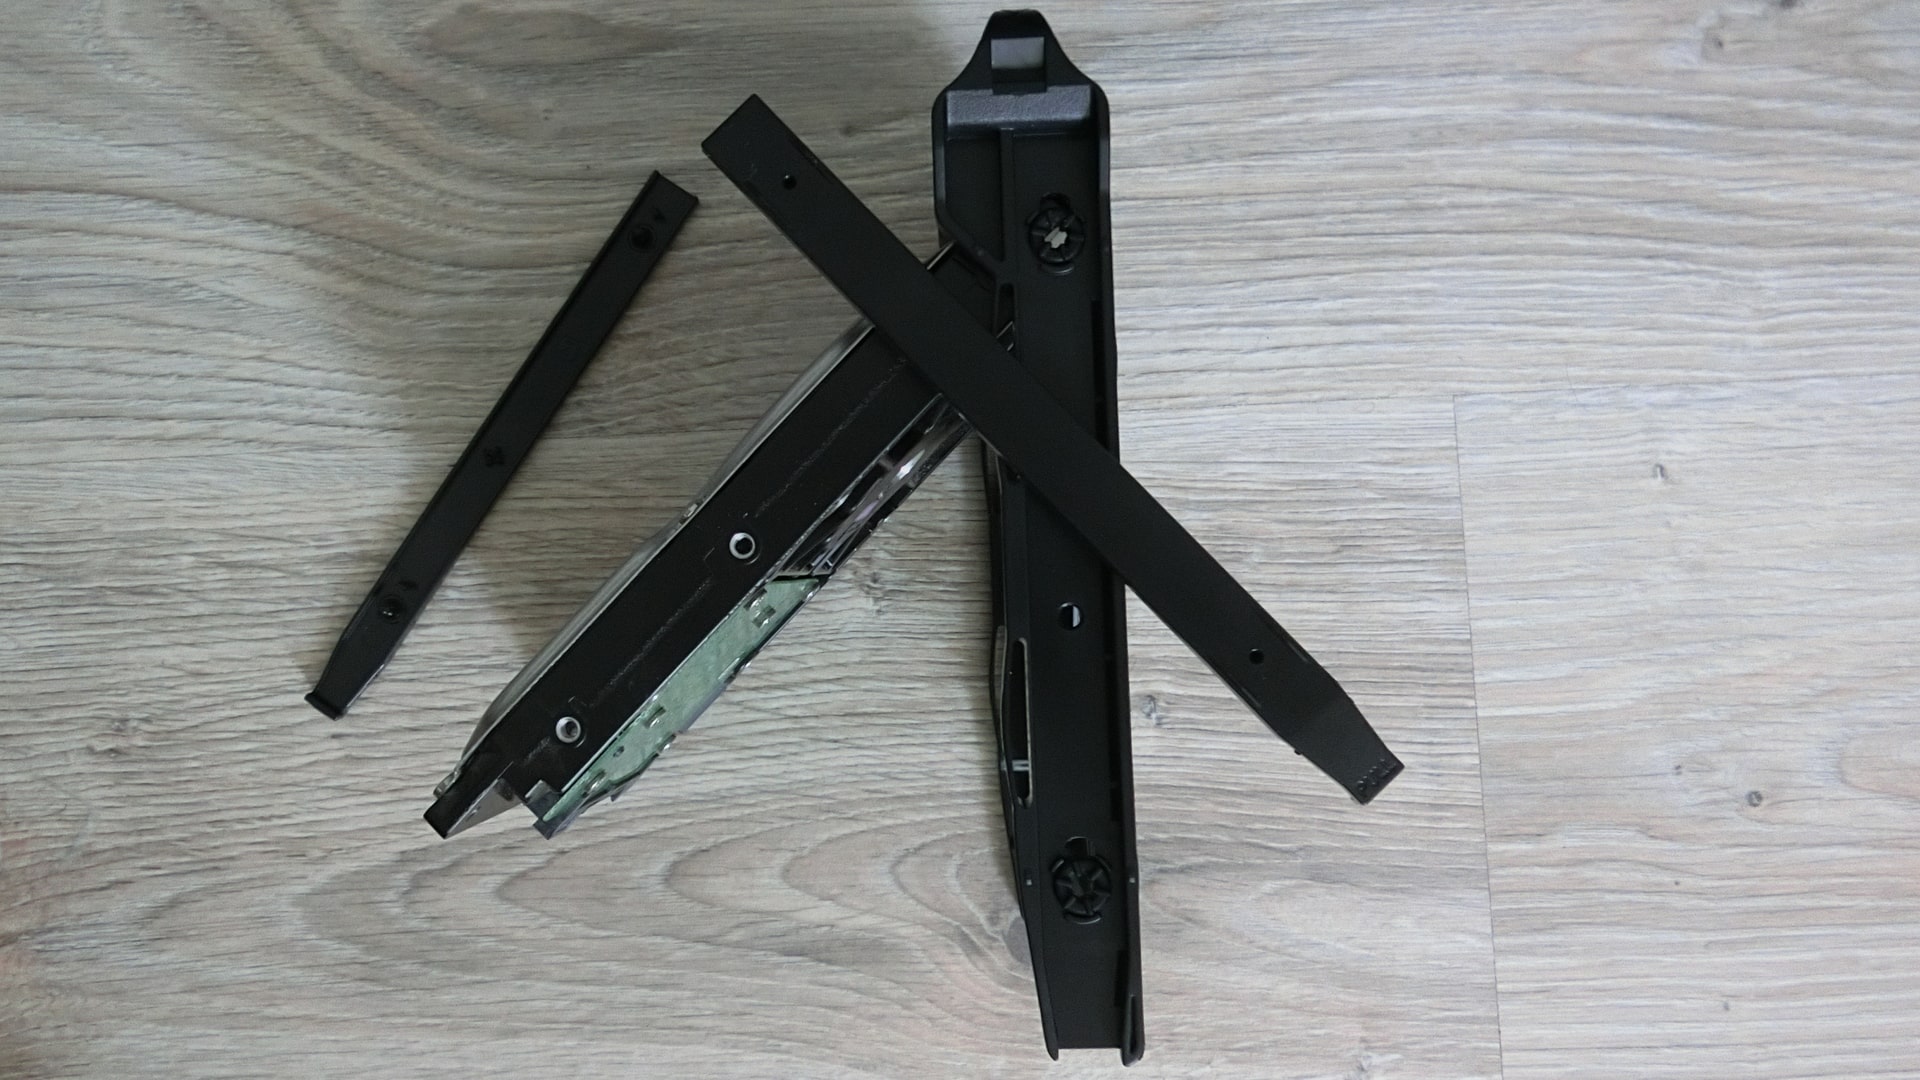
Storage devices are installed in plastic trays and secured with special fasteners on the sides. Then, these trays are pushed into the server along the rails. The front cover is put back in place – the NAS is ready for operation.
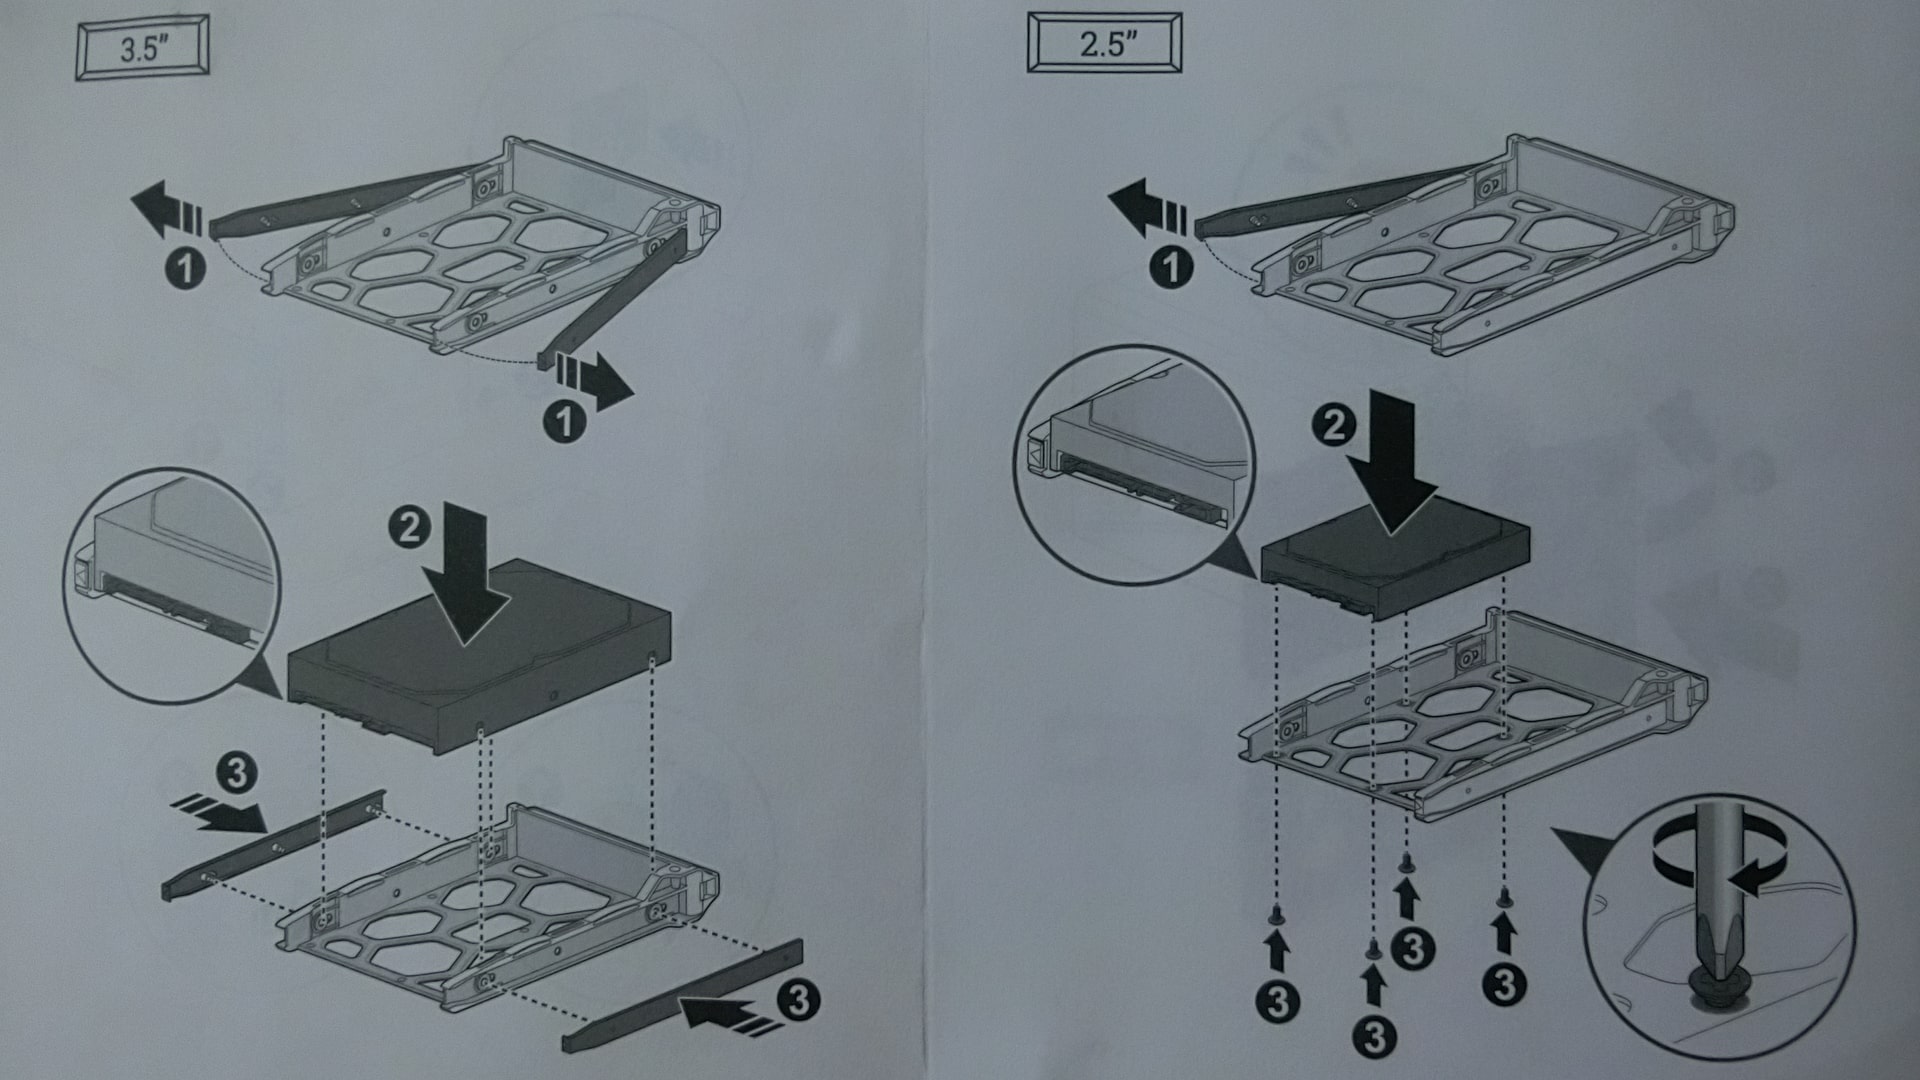
The only confusing aspect is the set of screws in the kit – where to screw them in. Fortunately, there is a brief instruction. It turns out the screws are needed for mounting 2.5-inch format hard drives in the trays. Live and learn – always review the instructions.
NAS Synology DS218: Startup
After pressing the Power button, the server comes to life – by the way, when powering on, this button blinks with a blue LED. Initially, it seems that the NAS has started automatically. But no – you need to press the button. After startup, all indicators (LAN, HDD, Status) begin to flash.
The same instructions provide links for PC and mobile device owners to access the browser. The network storage device is automatically detected in any browser and immediately prompts for setup.
First, the device wants to format the drives. Then, it offers to install the environment and software. The entire process takes about 10 minutes. After that, the management interface loads in the browser window. On first launch, the user is prompted to enter an administrator account name, password, and ID. There is no need to look for the ID on the box or the NAS case.
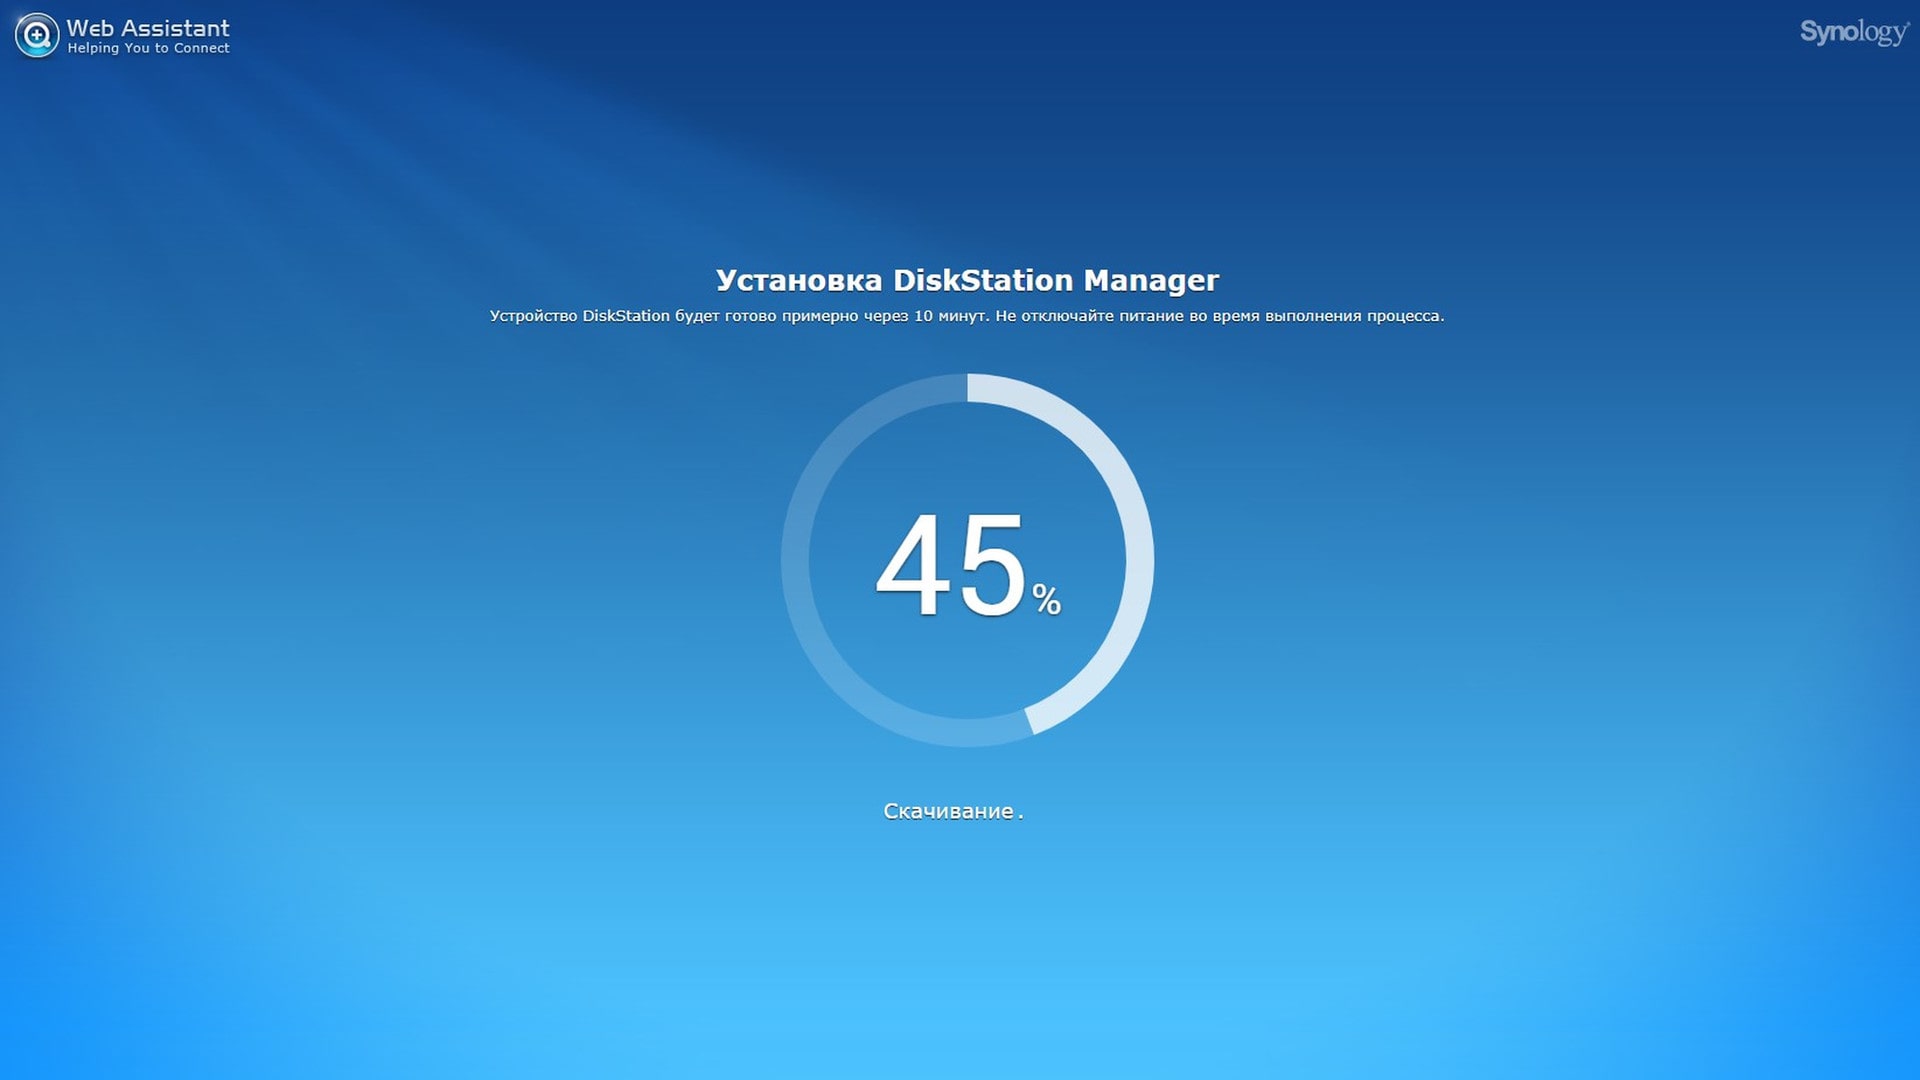
By ID, the manufacturer means a unique address for the server, through which you can access the control panel outside the home (via the internet). This field is mandatory; later, remote access can be disabled in the settings. In the ID field, you must enter at least 8 characters: English letters, numbers, and a hyphen (“-”). Otherwise, registration will not succeed.

For ease of use, it is recommended to create two shortcuts on the PC desktop. One for accessing the web interface (DM), and the other for remote connection via a file manager within the local network. On first connection, access passwords are requested. If the “save” checkbox is checked, subsequent connections will be automatic. In the control panel, under “File Services,” the connection addresses are listed – just copy and paste into the address bar of the file explorer or other file manager.
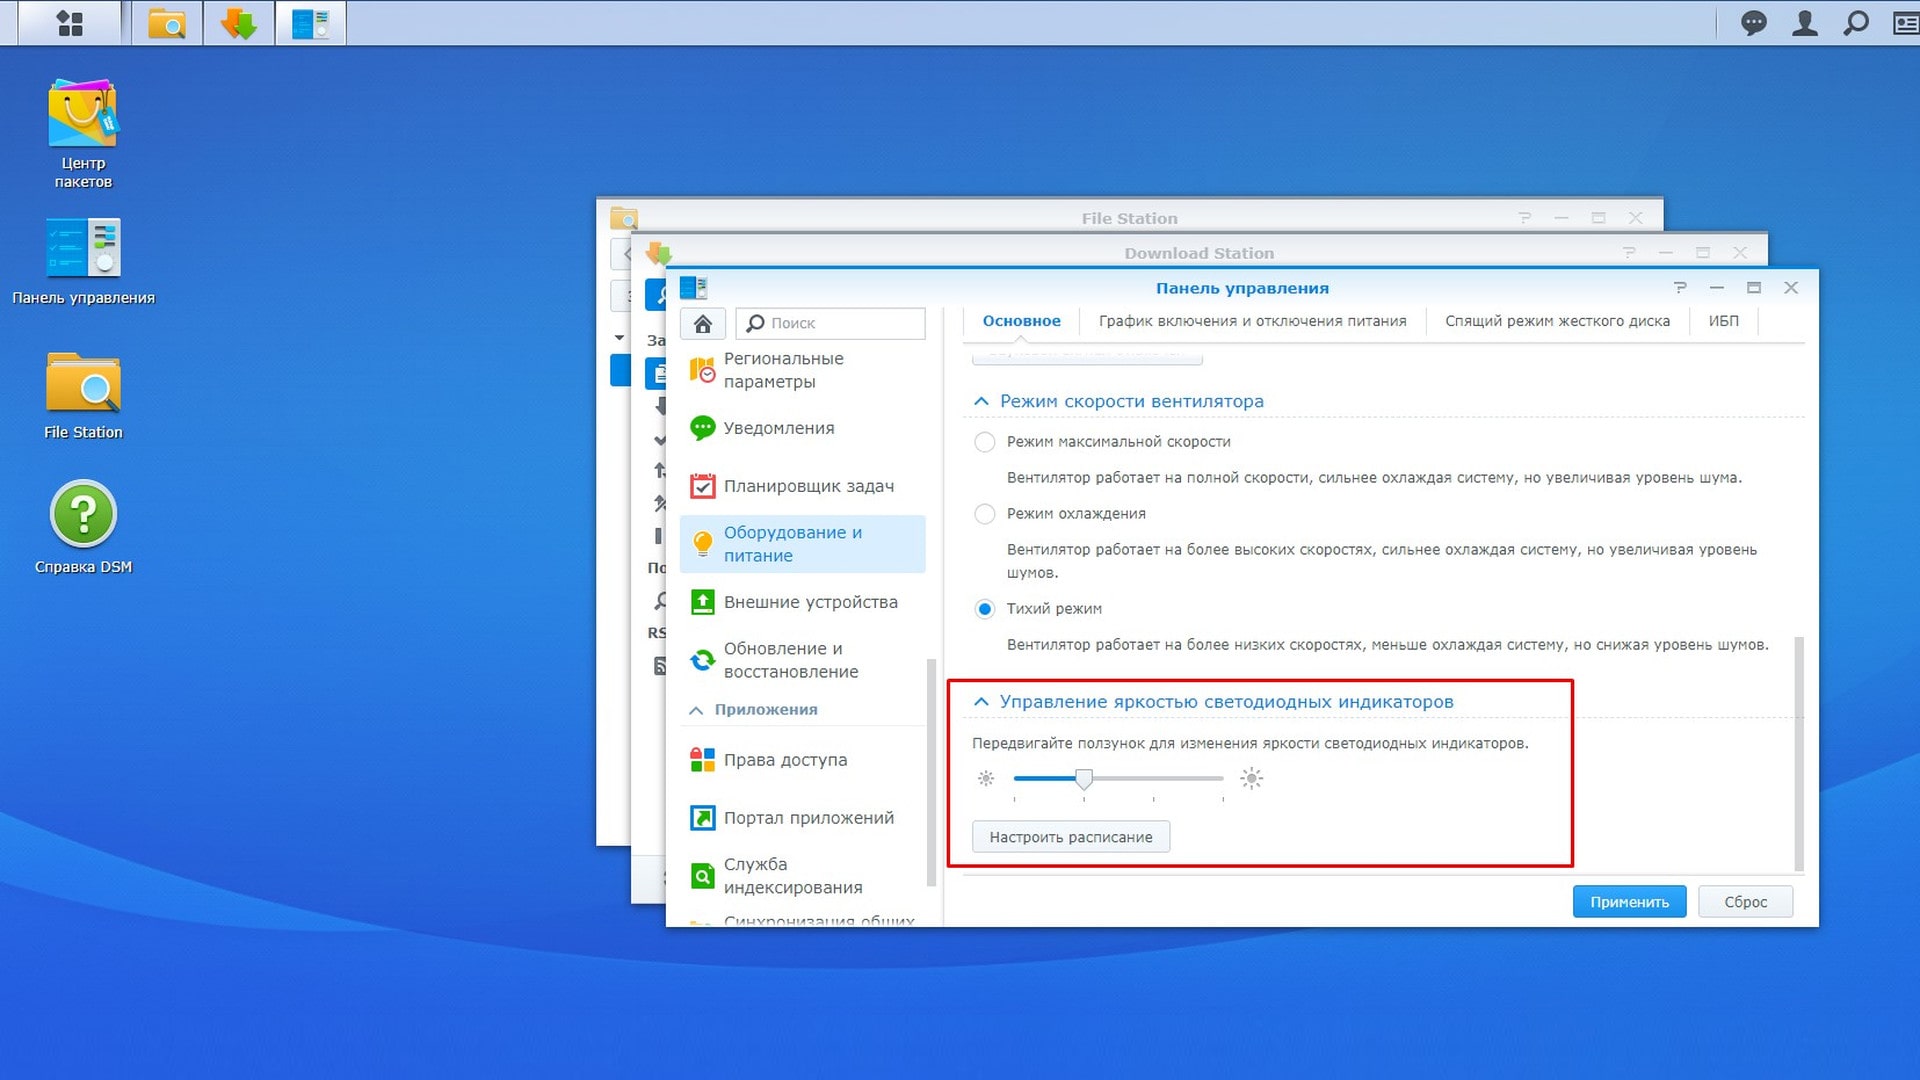
The NAS server, by default, allows all connections. Therefore, in the control panel, you will need to “tinker” to properly configure the device for your needs. There are hundreds of instructions online for setting up a network storage device – it’s not necessary to rewrite them all. Just note one point – the control panel includes a brightness adjustment for the NAS LEDs. An interesting and highly demanded setting, as the LEDs are too bright.